Monday, May 17, 2010

Our road trip to Savannah, Georgia


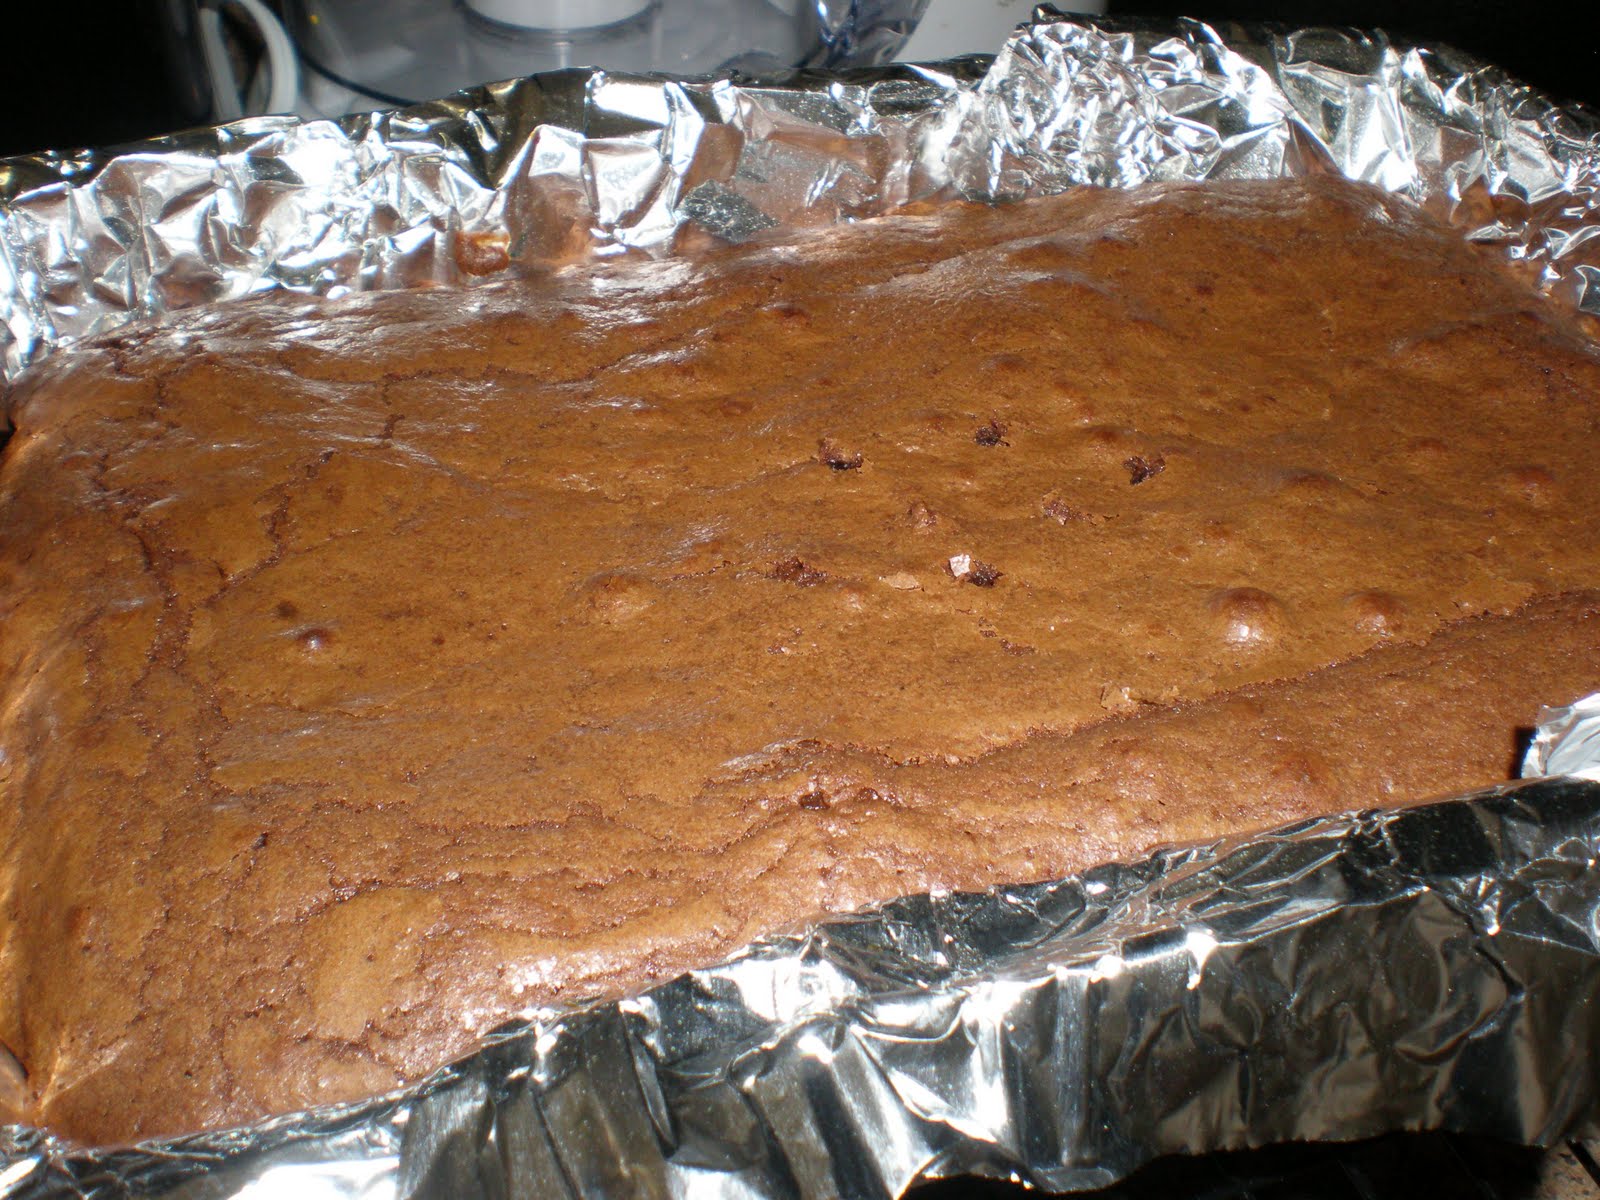
For an early birthday present, Emily and I took a road trip to Savannah. We, of course, ate at Paula Deen's restaurant. The Lady & Sons was so delicious! So in honor of our visit there, here are some of our favorite items and a recipe for hoecakes (above picture) we tried when we came home.


After getting up early to stand in line for more than an hour, we finally got our reservations to eat lunch!


My absolute favorite things to eat there were hoecakes and cheddar biscuits. My mom actually bought me a Paula Deen hoecake pan a while back, so after trying the original I had to make them when I got home! The recipe is at the bottom, and it is just like the ones they serve at the restaurant.


I am a sucker for lemonade, and The Lady & Sons' fresh squeezed lemonade was AMAZING! It was by far the best lemonade I have ever had. It was the perfect blend of sweet and tangy, and the fresh mint topped it off perfectly. It was so refreshing and paired perfectly with our down-home meal. So perfect that Emily and I both had about three glasses!


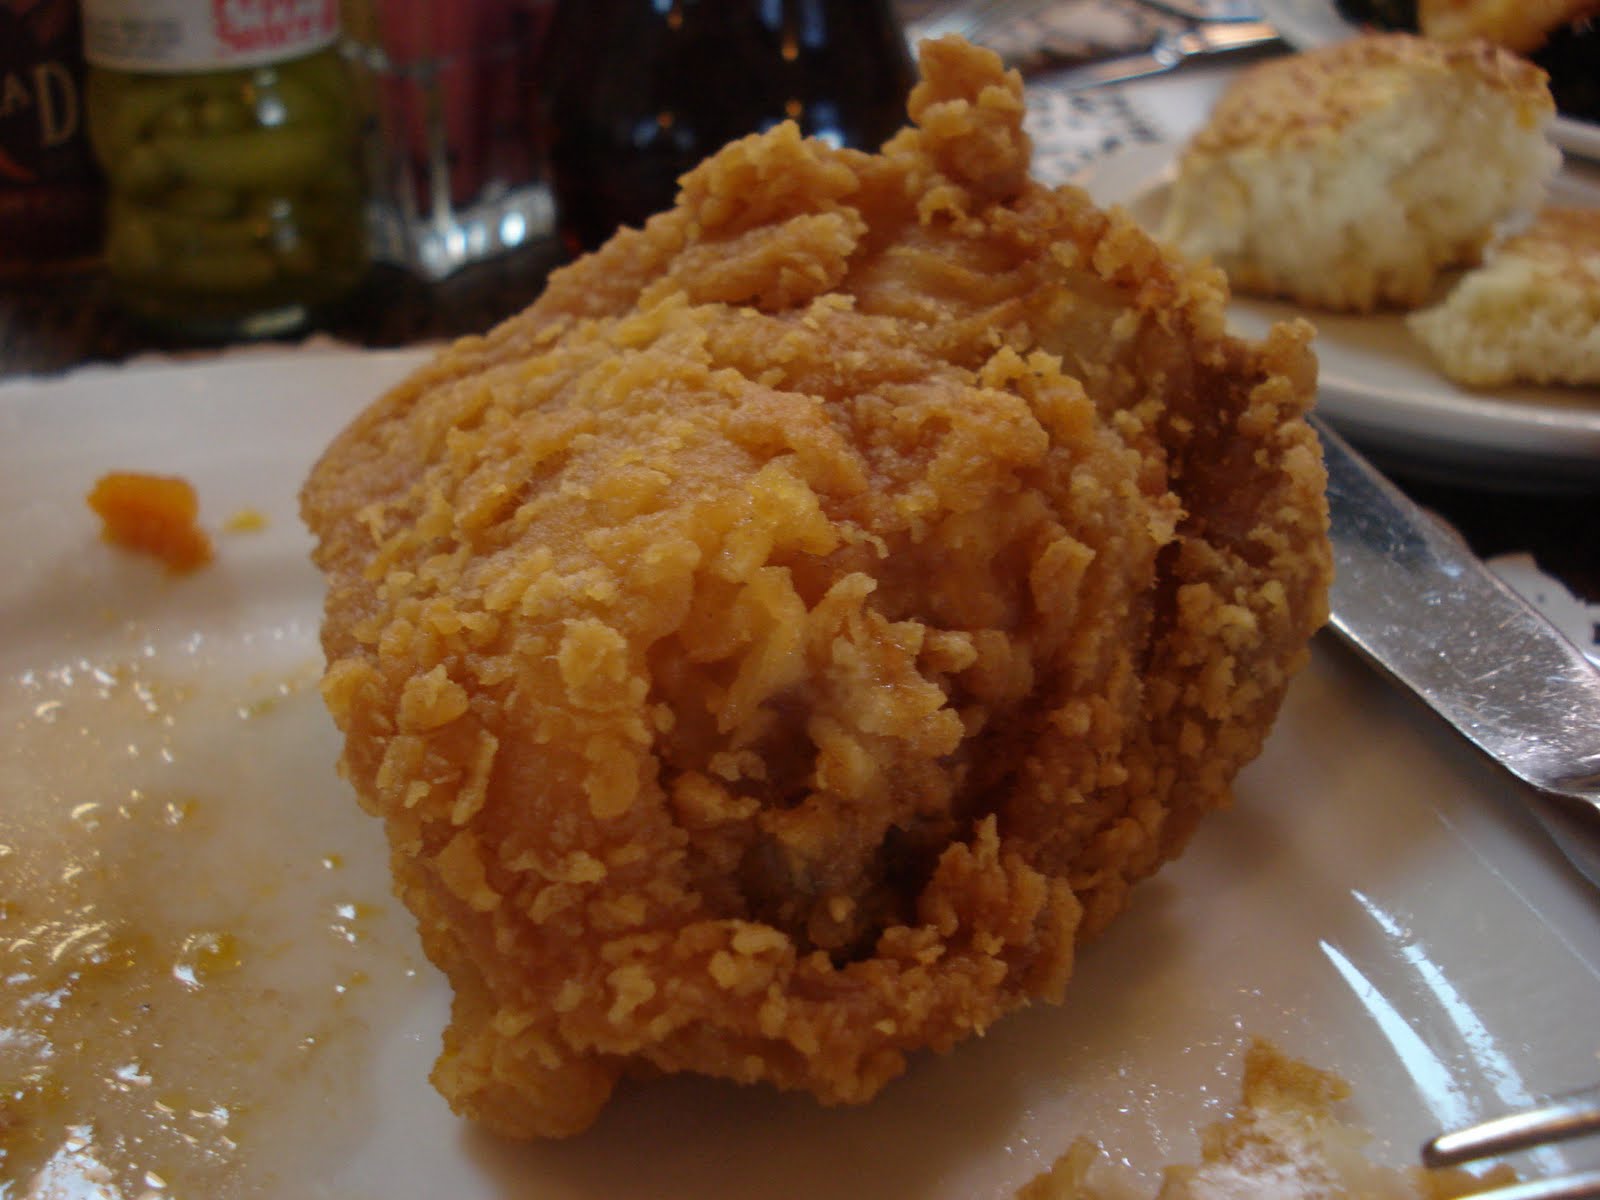
Emily had the buffet, and she said the fried chicken was delicious. I had fried shrimp and Jelly Roll's fries (hard to explain, but they are oval slices of potato with a thick breading ... aka yummy) The shrimp had a light batter, unlike most fried shrimp I have had, and it was slightly spicy.


To end the meal, Emily jumped on the banana pudding. She said it was the best she had ever had, and the homemade whipped topping was outstanding.

Our trip was amazing, and the food definitely contributed to that. If you ever have a chance to visit Savannah, make sure you stop by The Lady & Sons! The rumors are true – it's great!

The Lady & Sons Hoecakes
Yield: approximately 17 hoecakes

Ingredients:
1 cup self-rising flour
1 cup self-rising cornmeal
2 eggs
1 tablespoon sugar
3/4 cup buttermilk
1/3 cup plus 1 tablespoon water
1/4 cup vegetable oil
butter for frying

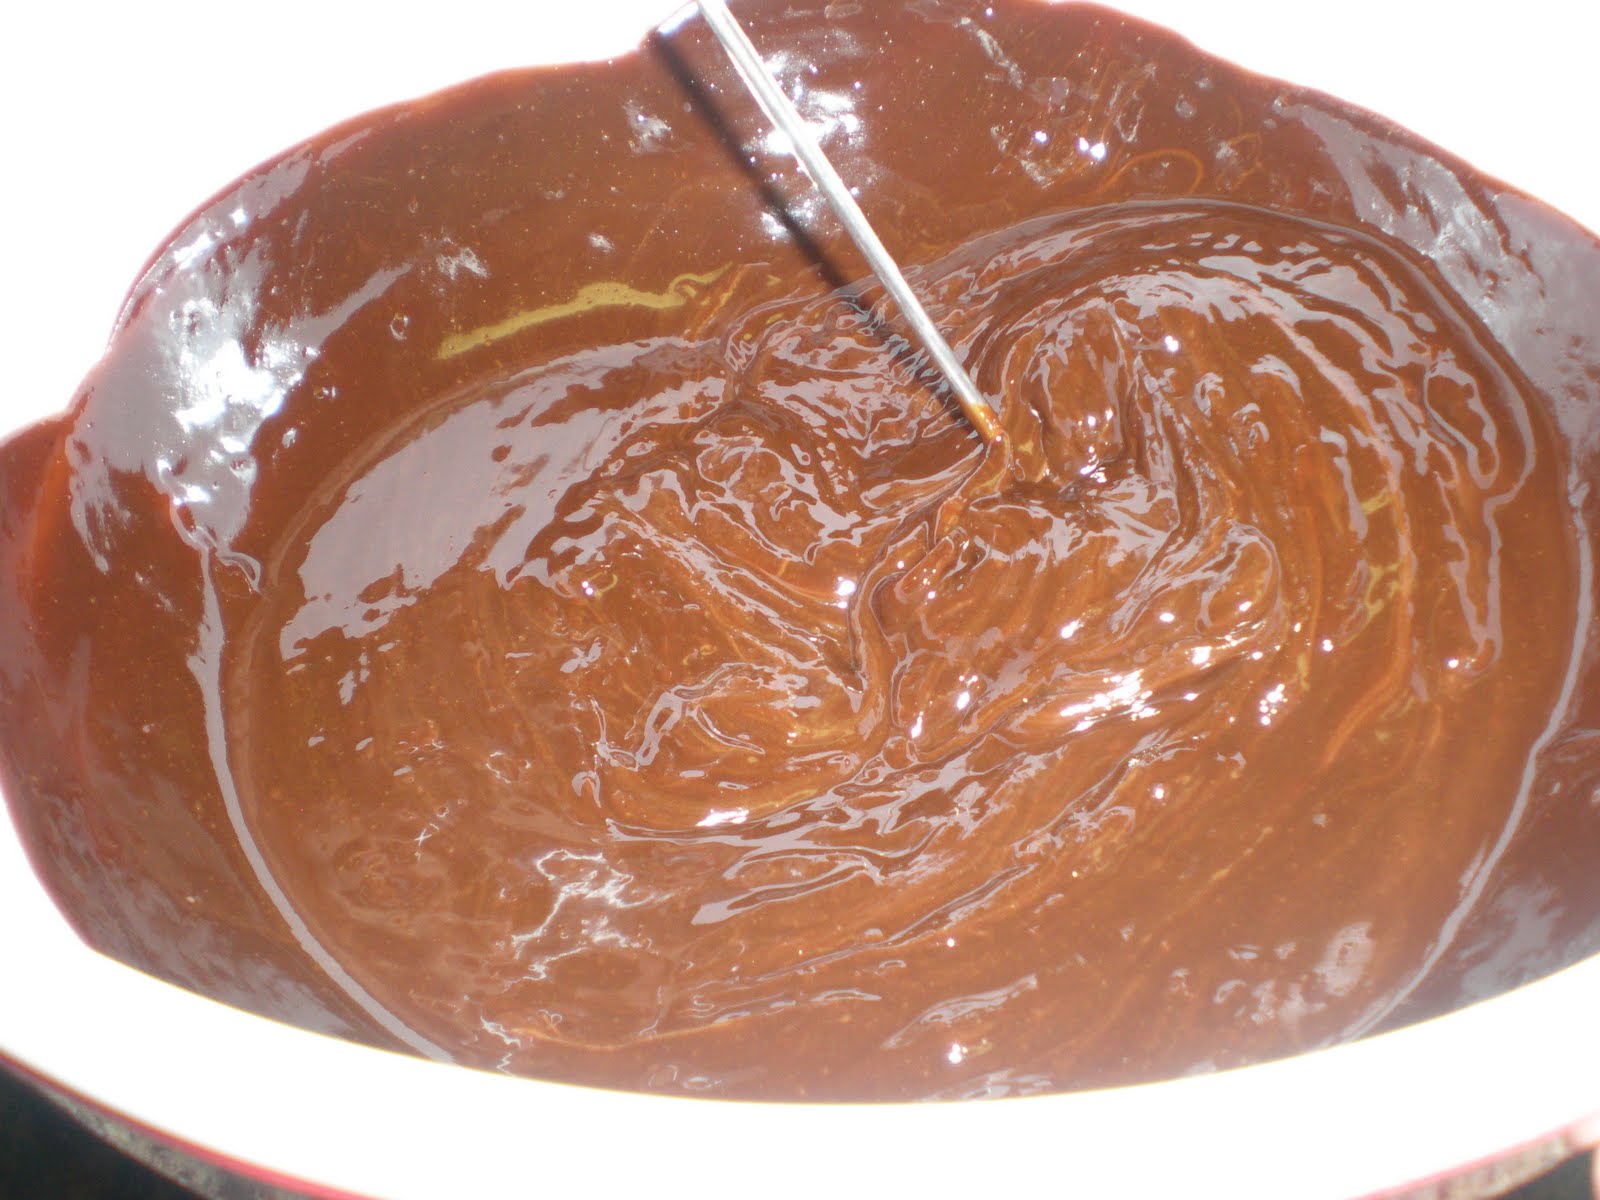
1. Mix the first 7 ingredients well.

2. Heat butter in a skillet (cast iron or Paula's hoecake pan) over medium heat.

3. Drop mixture into hot skillet by tablespoonfuls, using about 2 tablespoons per hoecake.

4. Brown until crisp, then turn and brown other side.

5. Drain hoecakes on paper towels. Save leftover batter in the refrigerator for up to 2 days.

6. Serve hoecakes warm either plain or with your favorite condiment such as maple syrup or jam. They are delicious with strawberry jam for breakfast or with honey for dessert!

Enjoy!


Strawberry Lemonade

For my best friend's birthday, I wanted to serve a drink that was light and refreshing, so I used one of her favorite flavors – strawberry – to jazz up regular lemonade. This drink was tangy and refreshing, and it stayed cold with frozen whole strawberries, which served a dual role of ice cube and garnish. Strawberry lemonade is perfect for get-togethers or everyday sipping, and a splash of club soda at the end gives it a special kick.

Ingredients:
8 lemons
8 cups water
1 1/2 cups granulated sugar
1 teaspoon salt
2 cups fresh strawberries, hulled
Frozen whole strawberries, lemon slices and fresh mint leaves, for garnish
Club soda


1. Juice lemons. Strain with a fine mesh strainer to remove pulp and seeds. Cover and refrigerate lemon juice. (You should have a little more than a cup of juice, depending on size and juiciness of the lemons.)

2. In a heavy saucepan, bring water, sugar, strawberries and salt to a boil over medium-high heat. Stir often until sugar is dissolved. With the back of the spoon, crush strawberries. Continue to boil for about 2 minutes.


3. Once mixture has boiled for 2 minutes, sugar has dissolved and berries have been crushed, let strawberry syrup cool. Cover cooled syrup and refrigerate until well chilled.

4. Meanwhile, remove stems from whole strawberries. Rinse them and pat dry. Once they are dry, put strawberries in a plastic resealable bag with a paper towel and place in the freezer until frozen.


5. Once strawberry syrup is well chilled, strain through a fine mesh strainer so all that is left is a smooth syrup.

6. Pour syrup in a pitcher and add chilled lemon juice. Stir mixture and taste to adjust sweetness.

7. When ready to serve, pour into individual glasses and garnish with strawberry ice cubes, lemon slices and fresh mint. For extra fizz, top off each glass with a splash of chilled club soda. Enjoy this refreshing, summertime strawberry lemonade!

Easy Chocolate Pudding Pie

During finals, Emily and I craved chocolate pudding. We couldn't get enough of it and couldn't make it fast enough. So we decided to make this pie with our pudding so it would last longer and we would be more satisfied. This pie is so simple to make, yet tastes so decadent with the homemade whipped topping and graham cracker crust. For the crust, use the same recipe as our lemon pie recipe.

Ingredients:
Graham cracker crust (from lemon pie recipe)
Large 8-ounce package (or 2 small 3.9-ounce packages) 5-minute chocolate pudding mix
2 1/2 cups cold milk
Homemade whipped topping (recipe below)

1. After following the graham cracker crust recipe, refrigerate prepared crust for 1 hour.

2. Prepare packet of chocolate pudding mix with cold milk. (We used fat free milk to lighten up our pudding.) Whisk pudding mix and milk for 2 minutes, then immediately spoon the mixture into the pie crust. Evenly spread pudding into crust and refrigerate for an additional 1 hour.


3. While pie is setting in the refrigerator, prepare the homemade whipped topping as follows.

Ingredients:
1 pint heavy whipping cream
1 1/2 tablespoons granulated sugar
1 teaspoon vanilla extract

4. With a hand mixer, beat heavy whipping cream in a medium bowl for about 2 minutes, or until stiff peaks form.


5. Once cream is stiff, add sugar and vanilla and beat for an additional 15 seconds, or until well incorporated. (Don't over beat or mixture will turn into a buttery texture.)

6. Refrigerate whipped topping until pie is set and ready to serve.


7. Before serving pie, remove it from the fridge and let it sit at room temperature for about 10 minutes so crust will easily remove from the pan.


8. Serve pie with about 2 tablespoons whipped topping per slice. Enjoy this simple, creamy chocolate pudding pie!

Saturday, May 1, 2010

Banana Muffins

Want a snack that's delicious, healthy and easy to make? These muffins are all the above. Although most healthy food lacks flavor, these banana muffins are full of flavor and 100% good for you. Every time you buy bananas, you will wait for them to ripen just so these muffins will be in your near future, just as Emily and I do.

Ingredients:

1 3/4 cup whole wheat flour
1 teaspoon baking soda
1/2 teaspoon salt
1/3 cup olive oil
1/2 cup honey
2 eggs
1 cup mashed ripe bananas
1/4 cup hot water


1. Preheat oven to 325 degrees Fahrenheit. Stir together dry ingredients.

2. Whisk oil and honey together. Add eggs; whisk well.

3. Add mashed bananas to mixture and whisk until evenly incorporated.

4. Add dry ingredients to wet mixture, alternately with hot water. Mix well after each addition.

5. Scoop batter into 12 greased muffin cups.

6. Bake for about 15 minutes, or until muffins are golden brown and a toothpick inserted in the center comes out clean.

7. Remove muffins from tin and cool on a wire rack. Serve warm or let cool completely. Enjoy these light and delicious banana muffins!

Nutella Brownies

These brownies are moist and delicious every time. Period.

Ingredients:

12 tablespoons butter
6 ounces semisweet chocolate
1/2 cup nutella, or similar chocolate-hazelnut spread
4 eggs
1 cup sugar
2 teaspoons vanilla extract
1/2 teaspoon salt
1 cup all-purpose flour
2/3 cup chopped hazelnuts, optional


1. Preheat oven to 350 degrees Fahrenheit. Line a 13x9-inch baking dish with aluminum foil, to make it easier to remove brownies after they have cooled.

2. Chop chocolate roughly. Melt butter and chocolate in a microwave-safe bowl for approximately 1 minutes, stirring every 30 seconds until melted.

3. Whisk in nutella, eggs, sugar, salt and vanilla until thoroughly mixed.

4. Add flour and mix just until all the flour is incorporated. Don't over mix.

5. Spread batter evenly into the baking dish. If using hazelnuts, sprinkle them on top.

6. Bake brownies for 40 to 45 minutes, or until a toothpick inserted in center comes out with moist crumbs.

7. Let brownies cool. Cut and serve. Enjoy!

*For a quick icing to top the brownies, use the following Cream Cheese Frosting recipe:

Ingredients:


1/4 cup (1/2 stick) butter, softened
4 ounces cream cheese, softened
1 teaspoon vanilla extract
2 cups confectioners sugar


1. Using an electric mixer, beat butter and cream cheese until smooth.

2. Add in vanilla and confectioners sugar, 1 cup at a time, and beat until smooth and creamy. Spread frosting on top of cooled brownies in an even layer.

*For a fancier brownie topping, sprinkle toasted hazelnuts or crumbled candy bars (such as Butterfinger or toffy bars) over the cream cheese frosting.

Rosemary and Garlic French Fries

These are not your ordinary french fries – they are baked and more sophisticated than something you get at a fast-food restaurant. Not to mention, they are super simple to make.

1. Preheat oven to 425 degrees Fahrenheit.

2. For 4 servings, slice 2 large potatoes (leave skins on) in half and then in 1-inch strips. If you prefer a thinner fry, slice them 1/2-inch thick. (For a more crisp fry, soak sliced potatoes in a bowl of water for a couple of minutes to remove some of the starch. Then pat potatoes dry with paper towels.)


3. Toss potatoes with 1 tablespoon olive oil, 1 teaspoon kosher salt and 1/2 teaspoon black pepper.

4. Spread seasoned potatoes in a single layer on a large baking sheet sprayed with cooking spray. Bake for 10 minutes.

5. Flip potatoes and toss with 1 grated garlic clove and 1 teaspoon dried or fresh rosemary.

6. Cook for an additional 7 minutes, or until fries are cooked through.

7. Once fries are cooked through, change oven setting to broil and crisp the fries for about 5 minutes, or until desired crispness is reached. Enjoy these baked, delicious fries you can't find at any fast-food restaurant!


Black Bean and Quinoa Burgers

In honor of my roommate and friend going vegetarian for 40 days, here is a vegetarian burger that has the same meaty texture as a beef burger and satisfies that burger craving. It also is healthier than a bought frozen veggie burger. You can find the quinoa at Whole Foods, Kroger's Natural Section or any specialty or natural stores.

Ingredients:

2/3 cup COOKED quinoa
2 (15 oz.) cans black beans, drained, rinsed and roughly mashed
1/4 cup all-purpose flour
1/3 cup diced roasted red pepper
1 tablespoon ground flaxseed mixed with 3 tablespoons water, microwaved for 20 seconds
2 teaspoons liquid smoke
1 teaspoon garlic powder
salt and pepper to taste

Below is what the cooked quinoa should look like.


1. Combine all ingredients in a large bowl. If it's too runny, add a little more flour desired consistency. Mixture will be somewhat sticky.


2. Form mixture into 6 patties.

3. Arrange on a plate and allow to refrigerate for 30 minutes.

4. Take out of refrigerator. Preheat a skillet over medium heat with 2 tablespoons olive oil.

5. Toast hamburger buns until golden.

6. Cook patties in the skillet until brown and crispy on each side, about 5 minutes per side.

7. Meanwhile, prepare the recipe for aioli to spread on buns.
Ingredients: 1/4 cup chopped onion, 1/3 cup sour cream or mayonnaise, 2 cloves minced garlic, 2 teaspoons dried basil, salt and pepper to taste
8. Mix all ingredients for the topping. Spread liberally on buns.


9. Assemble your burger with toppings of choice. We recommend sliced tomatoes, sliced cucumbers, sliced onion, additional roasted red peppers, etc. We don't recommend typical burger toppings because these burgers have more of a Mediterranean flare. Enjoy!